So here's what you do....
1. Clean those fingers! Get all the old polish off and file your nails. Never cut! Cutting your nails is bad, always file them down.
2. Base coat! The base coat will strengthen your nails and help the polish last longer. Make sure the base is COMPLETELY dry before you add your...
3. First coat! Don't drown your nails in color, apply a light first coat and wait for it to dry. Your nails will look more professional if you do multiple light coats. Don't expect to get the bottle color in the first (or even second) coat.
4. Add two-three more coats! Make sure that you're nails are 100000000% dry before starting the next coat.
5. Top coat! This is the final coat. It will protect your polish and give your nails a glossy look.
Fave Brands:
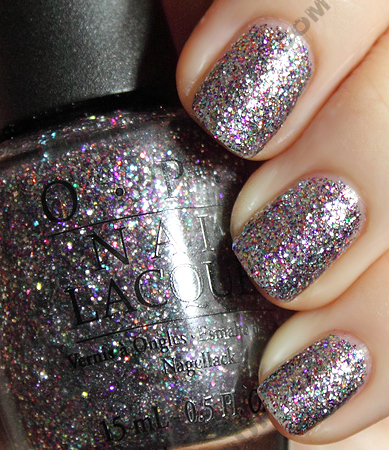
1. OPI (best brand ever! I only paint my fingers with OPI)
2. Maybelline Express Finish (Dries super fast, great for last minute nail color)
3. CoverGirl Boundless Color (Great for pedicures)
4. Sinful Colors (Soooo cheap and in the wildest colors)
XOXO
Megzi Dearest!
No comments:
Post a Comment